- Press Releases
- Industry Updates
- SIMTech Manufacturing Matters
- Manufacturing Matters
- SIMTech 30th Anniversary
- Events
- ASPEN2022
- BCA Green Mark (Platinum) for Healthier Workplaces and Laboratories
Growing In-House Testing Capabilities
X-ray Computed Tomography is used to verify non-destructive imaging of internal defects in 3D printed metal parts

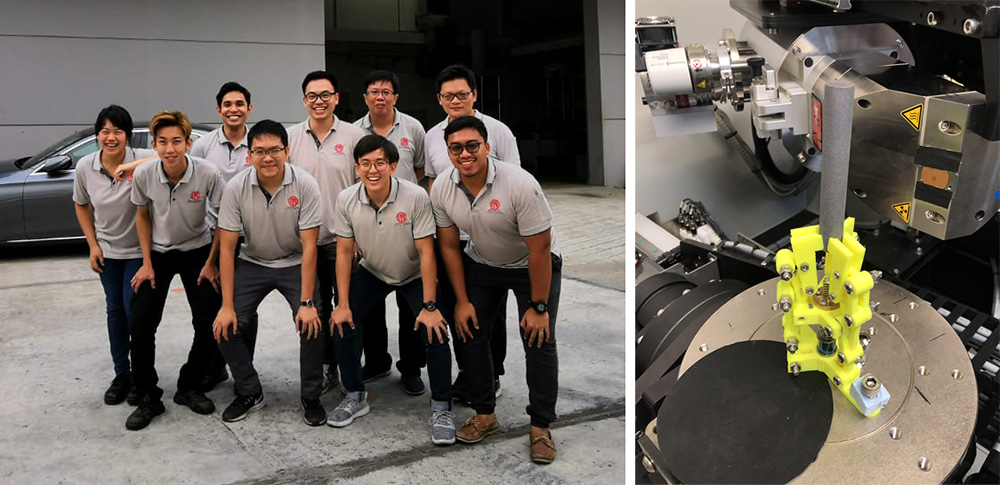
To assist Professional Testing Services (PTS) Pte Ltd in pivoting towards in-house testing for metal additive manufacturing (AM), a SIMTech engineer was attached to the company under the Technology for Enterprise Capability Upgrading
(T-Up) programme. Strong commercial interests for metal AM in recent years have motivated PTS to build numerous in-house testing capabilities to capture this rising demand. PTS is an ISO/IEC17025:2005 certified test laboratory,
providing a wide range of testing services to industries in Singapore for several decades.
For the attachment, SIMTech’s years of knowledge and experience in metal AM and related metallurgical science were shared to PTS key engineers. This boosted their knowledge and confidence in taking up testing services for metal AM
component as a business offering to industry.
X-ray computed tomography (XCT) was a key investment by PTS to support industries working on metal AM processes. To evaluate the company’s XCT equipment capability for defects detection in metal AM component, PTS leveraged
SIMTech’s research expertise in detecting defects to further their understanding on quality issues faced in metal AM processes. SIMTech in-house metal AM facility was utilised to fabricate customised aluminium artefacts to assist PTS
with their XCT experiments. These results confirmed PTS’ enhanced XCT expertise, paving the way to offer XCT as a quality control technique to industries involved in metal AM.
This T-Up has enabled us to have a better understanding of additive manufacturing and the impact for the Singapore industry. It has also allowed the company to better qualify and quantify our X-ray CT process, minimising time and resources
Mr Alsert Chua, Head of Chemical Department, Professional Testing Services Pte Ltd
The artefact and its internal defects were characterised by PTS XCT equipment, followed by destructive characterisation using optical microscope imaging of its polished cross sections. Defects data from XCT and destructive testing were
processed at PTS and the processed data revealed interesting insights. Characteristics of consequential defects were communicated during the T-Up to PTS XCT engineer and it was found that the company has the capability to detect
consequential defects in metal AM components. Further optimisation of XCT parameters helped reduce scan time by 30 per cent without compromising on quality of defects detection, saving machine and manpower costs for PTS.
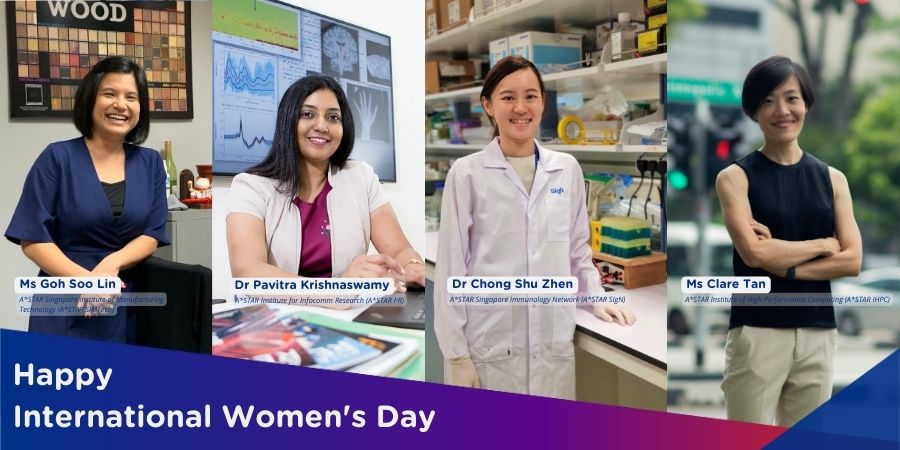
A*STAR celebrates International Women's Day

From groundbreaking discoveries to cutting-edge research, our researchers are empowering the next generation of female science, technology, engineering and mathematics (STEM) leaders.
Get inspired by our #WomeninSTEM
.png?sfvrsn=843a4005_8)